Installing pgAdmin 4 in Runtime Mode in Linux

INSTALLING PGADMIN 4 IN RUNTIME MODE IN LINUX

At Human Data Associates we use PostgreSQL databases. We store our data and the ETL tooling works on top of PostgreSQL. To manage our jobs and data, we make use of the application pgAdmin. For a long time, pgAdmin 3 was the standard. However, pgAdmin 4 is already released for quite some time and we would like to upgrade.

Installing and using pgAdmin 4 is straightforward for some operating systems, like Windows and MacOS, but setting it up for Linux has proven to be more difficult. There are multiple tutorials that can be found online, about installing the latest version of pgAdmin 4. Unfortunately, they all describe how to set it up as a web application. This can be useful if you want to run it on a server and access pgAdmin 4 from elsewhere, but when you desire to use it locally, you do not always want to open a browser. Therefore, we decided to publish how to install pgAdmin 4 as a standalone application on Linux, so it can be run in a runtime environment.

Image

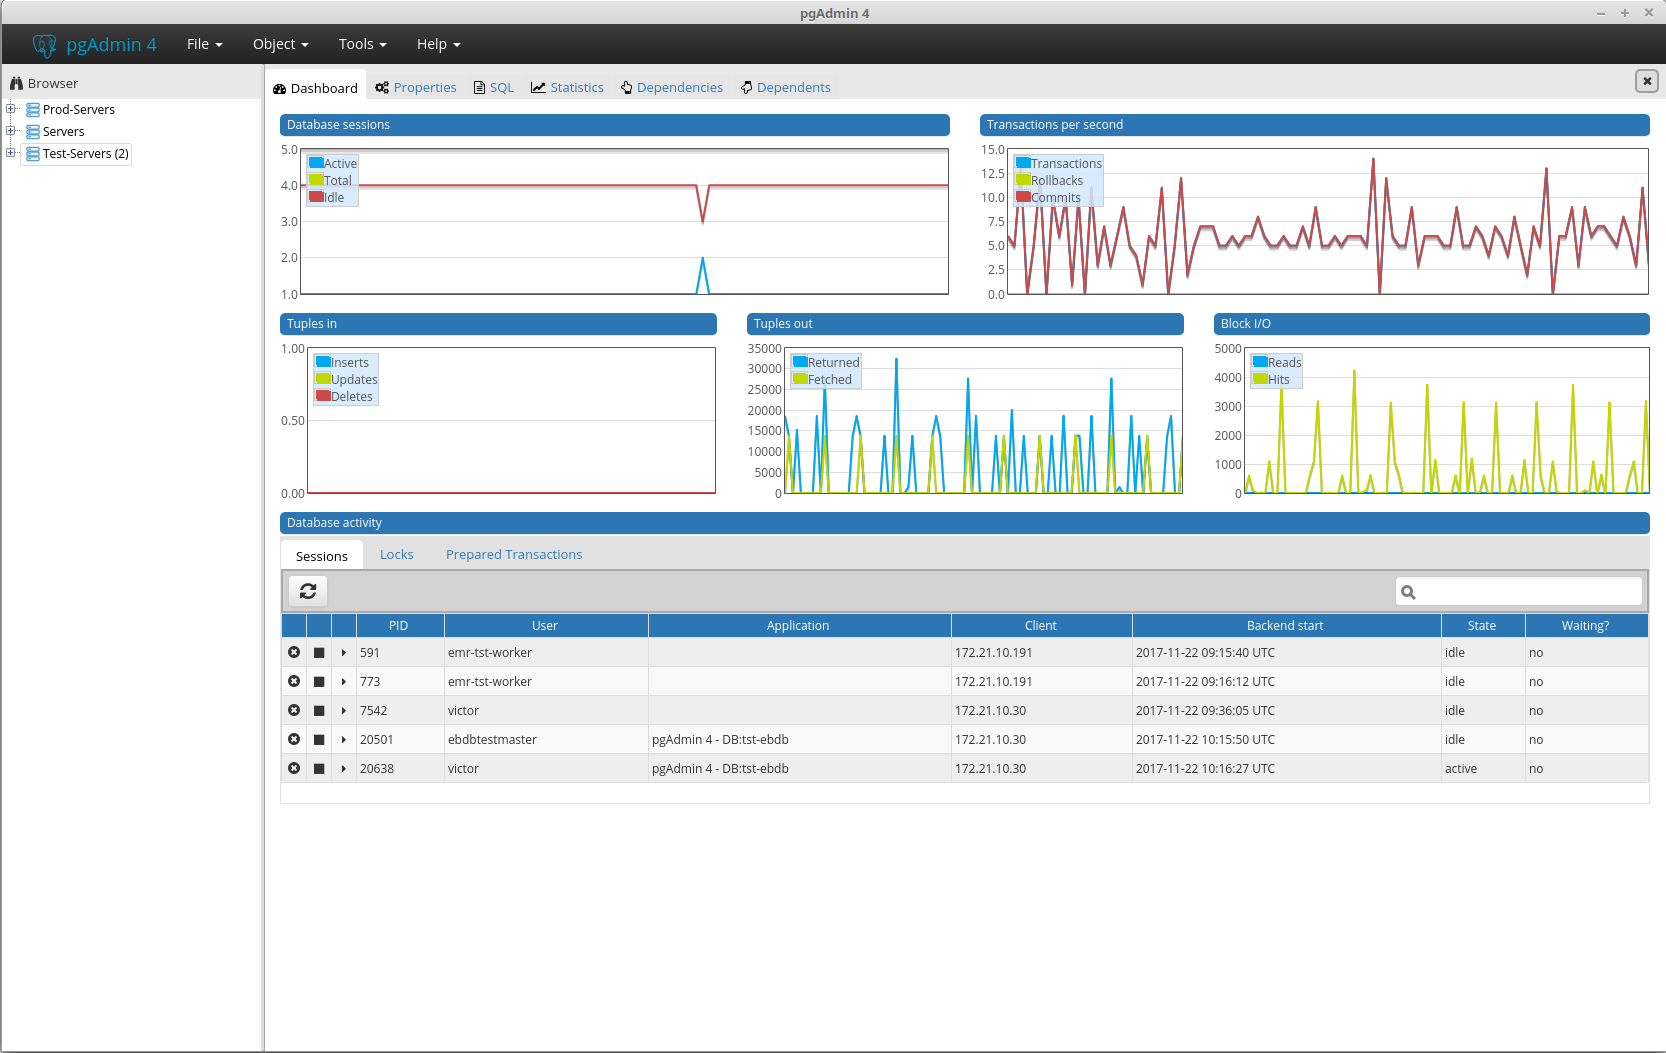
An example of pgAdmin 4 running as a standalone application in the runtime environment on Linux 18.2.

THE INSTALLATION GUIDE

To install pgAdmin 4 standalone in a runtime environment

PgAdmin 4 can be run in three ways:

  1. Server Mode in a web interface
  2. Local Mode in a web interface
  3. Local Mode in a standalone/runtime environment

The difference between the web interface and the runtime environment, is that for the first you require to work from a browser. Whereas with the runtime environments it runs as any other application on your desktop. This is achieved by using Qt5, which creates a wrapper of the application. This is a feature provided by the pgAdmin 4 team. However, on linux it wasn’t pre-build. Installing PgAdmin 4 for a runtime environment is more tricky than the other two, mostly because up until now it was undocumented. After following this guide, you will be able to run pgAdmin in any of the three options, but for now, I only describe the Local Mode options. This was tested on Ubuntu 16.04, Linux Mint 18.2 and 18.3.

Before we Start

PgAdmin 4 runs on Python. This guide will follow the instructions for a Python3 installation. In this guide, everything is installed in the home directory. Of course, you can change the paths to install it at a different location.

Dependencies

At the time of writing, pgAdmin 4 was at version 2.0, now revised below to 2.1. First, we will need to install some packages which are required to install and run pgAdmin 4. To start with this guide you need at least Python3 installed, which is default on Ubuntu 16.04.

Run the following code to install the dependencies:

sudo apt install python3-pip qt5-qmake libqt5webkit5-dev

pgAdmin 4 Files

We will download the pgAdmin source files, since then we have the files required for building the runtime environment.

wget https://ftp.postgresql.org/pub/pgadmin/pgadmin4/v2.1/source/pgadmin4-2.1.tar.gz
tar -xvzf pgadmin4-2.1.tar.gz -C ~/

Python Setup

The pgAdmin 4 team advice to use a virtual environment for the installation. Therefore, we will install virtualenv with pip and set it up to use with Python3.

pip3 install virtualenv
mkdir ~/virtualenvs/
virtualenv -p python3 ~/virtualenvs/pgadmin4/
source ~/virtualenvs/pgadmin4/bin/activate

Now that we have started our virtual environment, we can install the python requirements for pgAdmin 4.

pip3 install -r ~/pgadmin4-2.1/requirements.txt

Building pgAdmin 4

First, go to the runtime directory and use Qt5 and qmake to create the makefile for building the executable. Note: Linux will by default search for the qt4 version. Therefore we will have to give the path to run qt5-qmake specifically.

cd ~/pgadmin4-2.1/runtime/
/usr/lib/x86_64-linux-gnu/qt5/bin/qmake “DEFINES += PGADMIN4_USE_WEBKIT”
make

Next, set up a local configuration file for Python. To do this, we create a file config_local.py

touch ~/pgadmin4-2.1/web/config_local.py

Then, open it and paste the following settings into it. You can, of course, change them to fit your requirements.

import os
# set the server mode, if false start in local mode
SERVER_MODE = False
# create a path to a .pgadmin folder in your home directory
DATA_DIR = os.path.realpath(os.path.expanduser(u’~/.pgadmin/’))
# set the files and directories to store data
LOG_FILE = os.path.join(DATA_DIR, ‘pgadmin4.log’)
SQLITE_PATH = os.path.join(DATA_DIR, ‘pgadmin4.db’)
SESSION_DB_PATH = os.path.join(DATA_DIR, ‘sessions’)
STORAGE_DIR = os.path.join(DATA_DIR, ‘storage’)

Now, create the pgadmin folder and the configuration file.

mkdir -p ~/.config/pgadmin/
touch ~/.config/pgadmin/pgadmin4.conf

Execute the following command to add the settings line to the file, which tells pgAdmin 4 where to look for the installed Python requirements. In our case it is not in the default location but in the virtual environment. Note: If you directly edit this file, replace $HOME with your home directory.

echo “PythonPath=$HOME/virtualenvs/pgadmin4/lib/python3.5/site-packages/” >> $HOME/.config/pgadmin/pgadmin4.conf

Now run setup.py so that all the above configurations are used to create the initial files:

python3 ~/pgadmin4-2.1/web/setup.py

Running pgAdmin 4

At this point, PgAdmin 4 can run in both the web interface or in the runtime environment.

  • For the runtime environment, we execute the following line:
~/pgadmin4-2.1/runtime/pgAdmin4
  • Alternatively for the web interface use the following command. Note: For this, it is required to use the Python version inside the virtual environment, like in the command below. PgAdmin 4 is then accesible from a browser at localhost:5050
~/virtualenvs/pgadmin4/bin/python3 ~/pgadmin4-2.1/web/pgAdmin4.py